
In the past, creating your own fabric line was not something that many people could do. The process of creating the designs, choosing the correct type of threads, and bring them together to produce a bolt of custom fabric was too costly and tedious. What’s more, if you wanted to make it into a business, you had to create a lot of stock, which often proved to be a financial disaster.
Luckily, it is much easier to create your own custom fabric these days thanks to the rise of wholesale textile suppliers and DIY fabric designing methods and software.
Ways to Create Custom Fabric
There are generally two ways that you can create and design your own custom fabrics: block printing or inkjet printing.
Block Printing

This method is more suited if you’re going to create small batches of custom fabric or you are just starting to learn how to design custom fabric. The materials are cheap and easy to find, and there is an easy learning curve for beginners. What’s more, you won’t need to invest in purchasing your own textiles, as you can use store-bought plain textiles such as t-shirts.
1. Create your Design
First, you need to create your basic design. Sketch out the final design on a linoleum block using a pencil so that you can adjust and tweak as needed. Once you are happy with the design, use a carving tool to whittle away the excess material and make the design stand out. Make sure to remove as much excess material as possible to make the final stamp clear and distinct.
2. Choose the Right Paint
Make sure to choose the right paints for your design. Oil-based paints have richer and deeper colors, but beginners might find it hard to work with this type of paint. Fabric paints, on the other hand, are cheaper and easier to work with but do not produce the same rich colors.
3. Brush the Paint on the Stamp
Using a foam roller, put an even layer of the paint on your stamp. Make sure that all the crevices and dips of the stamp surface is covered so that the final design is printed clearly.
4. Press the Stamp on the Fabric
Place the fabric on a flat surface and stamp the block straight down. Press down firmly, and lift up completely. Make sure to put cardboard underneath the fabric to prevent excess paint from seeping
through.
5. Allow the Fabric to Dry
Hang the fabric and allow it to air-dry completely before using or storing the fabric. Oil-based paints take a longer time to dry compared to fabric paint.
Inkjet Printing
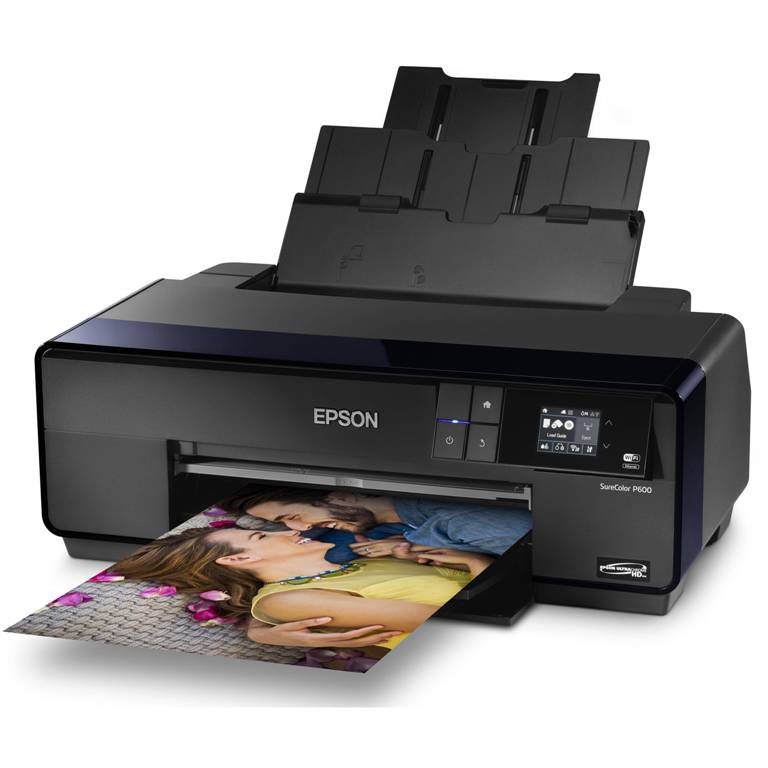
If you have the money and experience, you can invest in a printing setup to create your custom fabric. Printed custom fabric pieces have more complex designs, and you can create large batches at once.
1. Choose the Right Textile
Pick the right kind of textile; not all textiles are suitable for inkjet printing. Pure cotton or silk are the best types of fabric for printing on. You also need to use a fabric stabilizer so that the fabric does not crease or bunch up while it goes through your printer.
2. Choose the Right Fabric Paint
Pick a fabric paint that’s formulated for use with inkjet printers. If you use the wrong type of paint, you can ruin or damage your printer. What’s more, choosing the wrong type of paint can cause the paint
to run and damage your fabric.
The right type of fabric paint will come out clearly and crisply, and it will dry out quickly once it has been printed on the textile surface.
3. Create Your Design
There are various software that you can use to create and tweak your design. These programs are free and easy to learn simply by using YouTube tutorials. Some of these programs include PicMonkey, Inkscape, and GIMP. However, if you are looking for more professional software that allows you to use the various features to modify your design, you can use Adobe Illustrator or Adobe Photoshop. Keep in mind that you need to purchase these programs to enjoy all their features.
4. Check Your Computer Settings
Make sure that the image resolution settings on your computer are properly calibrated so that the final product looks exactly the same as the image on your screen. You should print out your design on a sheet of paper with similar color as your fabric so that you can have an idea of the final printed product.
Make sure that you are using the best image quality possible as well, especially if you are printing images on your fabric.
5. Print Your Final Design
Once you are happy with the final design, you can start printing it on your fabric! Make sure to guide the textile through your printer to prevent jamming or smearing.
")
